One thing that became very clear during this whole process is that permitting the shed as “unfinished” was both a blessing and a curse. It simplified the original building permit, but it also meant we had to separately obtain an electrical permit later. At first, electricians recommended flexible plastic corrugated conduit because it is cheaper and easier to run. However, there was a catch: it cannot be exposed, meaning it would have required the interior to be fully finished as part of another permit phase. That completely went against the way I wanted to approach this project. I wanted maximum flexibility and wanted to tackle the gym piece by piece as ideas evolved. So, I insisted on metal conduit throughout the entire shed. It cost more, but it allowed me to fully complete the electrical in one shot.
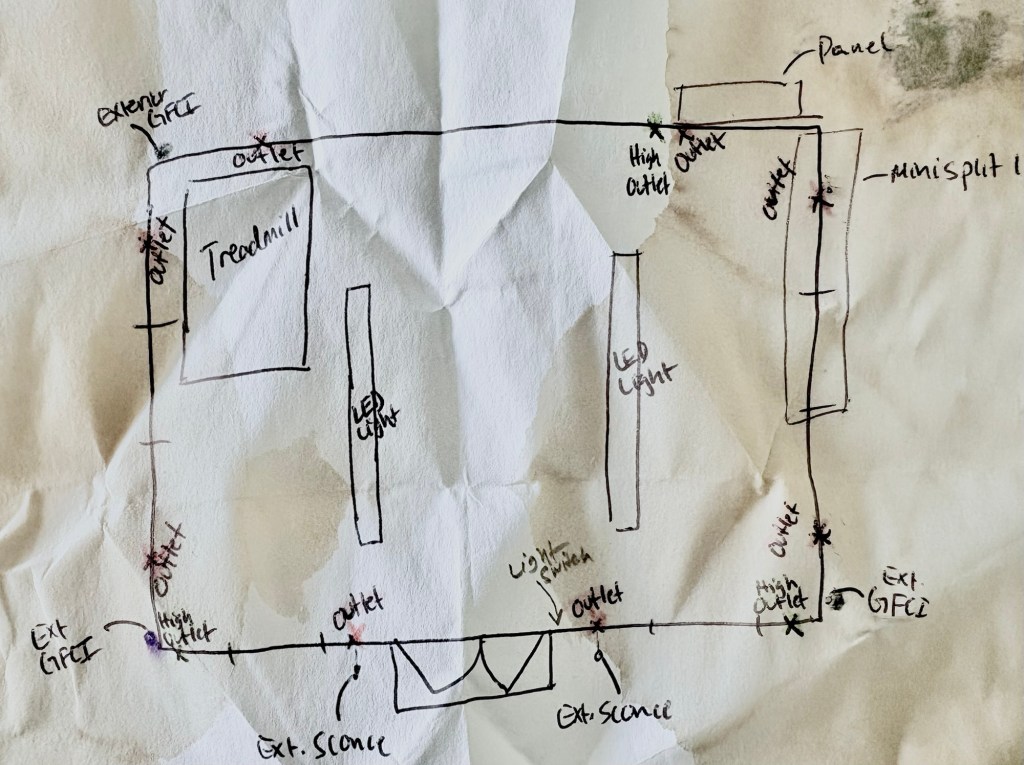
The electrical phase really started with planning. Electricians asked me a simple question: “How much power do you need?” That question forced me to really think through how the gym would actually function day to day. A lot of things barely draw any power at all — lights, phone chargers, even the Peloton bike. But then you start stacking larger draw items together like the Peloton Tread, a mini fridge, and a possible future AC unit and suddenly you realize you need to think carefully about circuits and layout. So I got to work sketching the gym, figuring out where equipment would go, where outlets would make sense, and which items would likely need dedicated circuits. This phase brought up a surprising number of bigger-picture questions too: how conditioned did I want the space to be? How would I control moisture? How many outlets were enough? Should I future-proof with extra exterior outlets for things I couldn’t even think of yet? It ended up being one of the more thoughtful stages of the whole build.
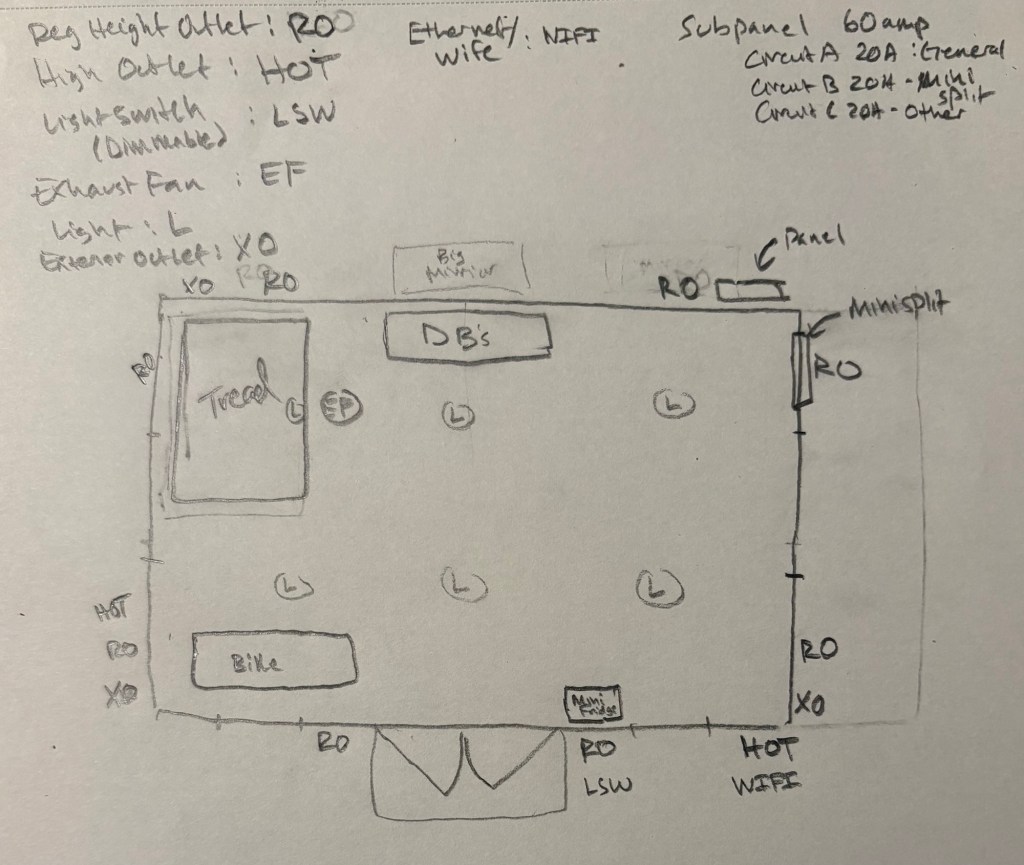
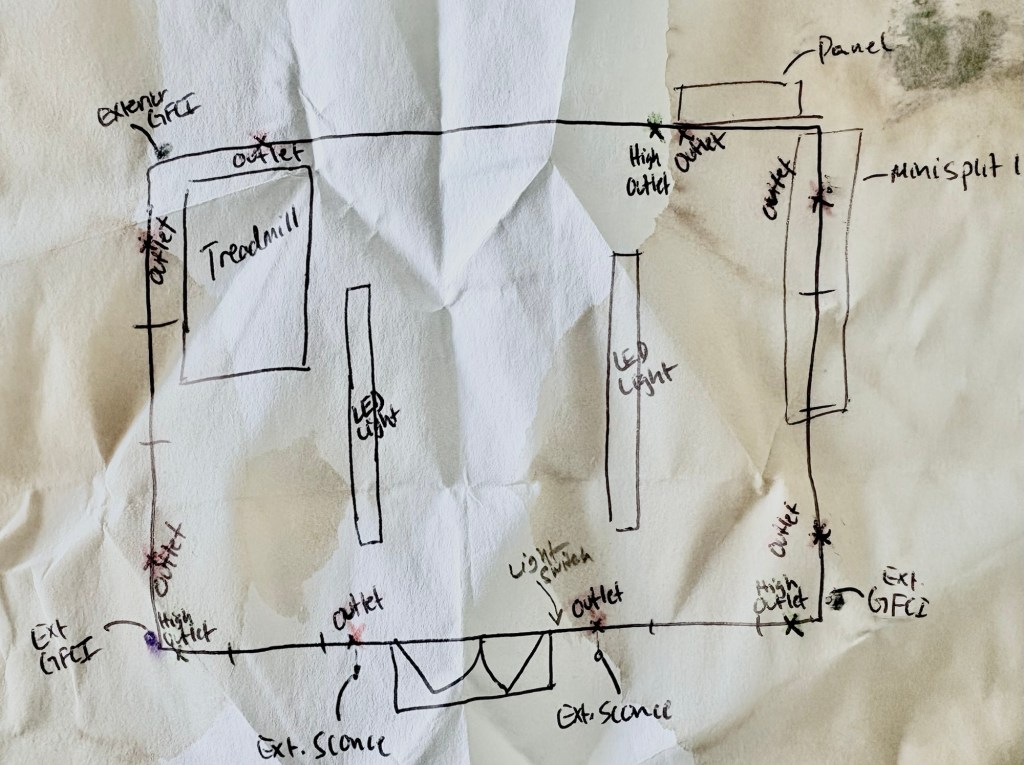
Since electrical was not part of the original building permit, the electricians had to come into the shed from the exterior with the panel. Oddly enough, I actually preferred this because it meant I didn’t have a giant electrical box hanging on the interior wall of the gym. The back side of the shed is mostly hidden from view anyway, so there was no downside aesthetically. In the end, it worked out perfectly. We installed something like 11 outlets throughout the gym which honestly felt excessive at the time. Now? I’m using almost all of them. The Govee lighting alone consumes multiple higher outlets, the AC unit uses one, both Pelotons use outlets, there’s an iPad constantly charging, a Roomba dock, mini fridge, speakers, battery packs… it all adds up incredibly fast. I genuinely do not think you can have too many outlets in a gym shed. That said, there is a balance because every outlet impacts your usable wall space for mirrors, barbells, TRX anchors, shelves and all the other gym accessories that slowly accumulate. One big tip would be to really think ahead about mirror placement before finalizing electrical.
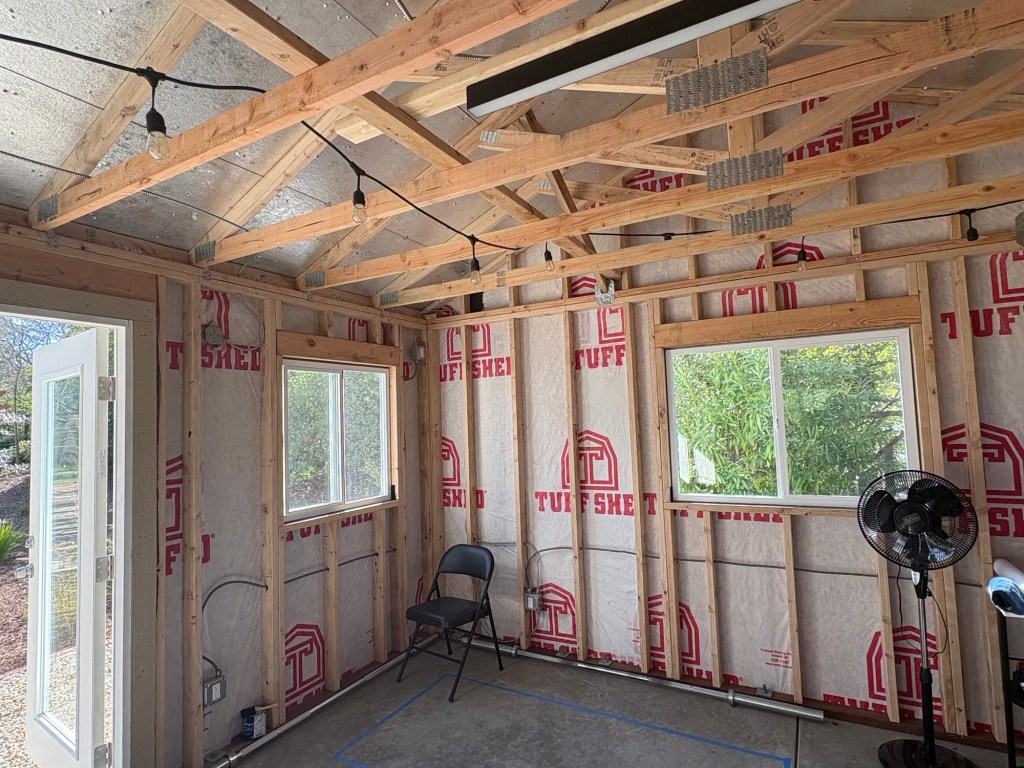
In hindsight, there are definitely a few changes I would have made. I would have spent more time testing the warmth and color temperature of the overhead lighting before installation. I also would have installed a couple small ceiling fans during the electrical phase while everything was accessible. A few outlets with built-in USB and USB-C charging would have been nice quality-of-life upgrades too. And honestly? I probably would have added one or two more outlets. Somehow, no matter how many you install, you still end up wanting one more.
Disclosure: Some links on this blog are Amazon affiliate links for the exact products we bought unless otherwise noted — we may earn a small commission at no extra cost to you.